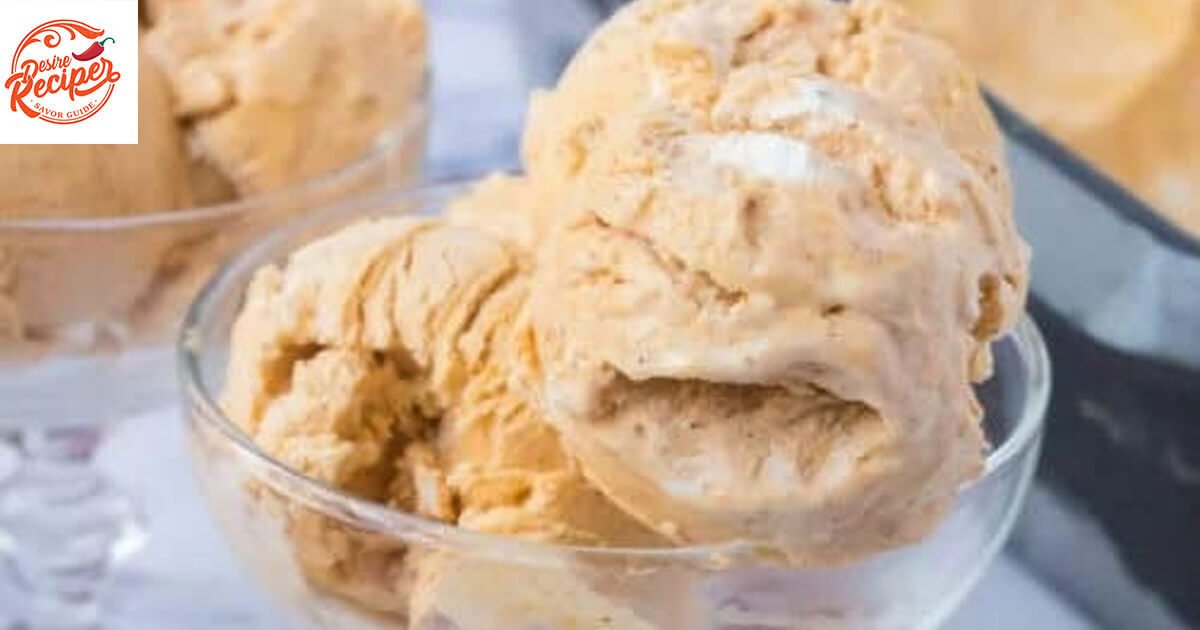
Sea Salt Ice Cream is a frozen treat that combines the best of both worlds- creamy sweetness and a touch of salty goodness.

It consists of only two ingredients: coconut milk and chocolate. If you like baking cakes or preparing ice cream in the kitchen, you could make this at home. Sea salt ice forms a crystal clear glaze over the frozen mixture.
A delicious, accessible, and eco-friendly ocean Salt Ice Cream form that’s made with fresh sea salt. This manual ice cream would make the rough rich and delicate vanilla ice cream feel like a child’s play. This form is a must-try if you want a case that tastes good without feeling guilty.
Why Try Sea Salt Ice Cream?
You have to try it to know how good it is. If you love salty tastes, then surely the sea salt ice cream is ‘the one’ for you, whose edible taste will force you to have more sea salt ice cream. You won’t stop eating sea salt ice cream once you’ve had a taste of it.
How To Make Sea Salt Ice Cream
Sea salt ice cream is really heavy ice cream and very rich when done with salt caramel. So, for your sanity, everything’s kept quite simple with the following five basic ingredients: eggs, milk, sugar, heavy whipping cream, and sea salt. These three main ingredients work to provide a very rich base for the finished ice cream. This will only take 10 minutes to prepare, and most of that time will not have been spent
Ingredients
- 2 eggs
- 2 cups milk
- 1⁄3 cup sugar
- 1 teaspoon vanilla extract
- 1 cup heavy cream
- sea salt (use with caution)
- blue food coloring (it looks better with it) (optional)
- green food coloring (it looks better with it) (optional)
Step By Step Instructions To Make Sea Salt Ice Cream
Instructions:
Step 1: Heat the Milk
In a medium saucepan, mix up 1 cup whole milk and heat over medium to steamy just before simmering. Stir often so it does not burn, yet do not allow it to come to a boil.
Step 2: Whisk the Egg Yolks and Sugar
Meanwhile, heat together 2 egg yolks and 1/4 cup sugar until an electric beater becomes pale and creamy in another mixing bowl.
Step 3: Combine the Milk and Egg Mixture
Add milk to the egg slowly, whisking continuously. Strain with a fine strainer and set aside. Finish heating the mixture until steam arises from it, but do not let it boil. Mix it well and allow it to cool. Then add 2 ladles of juice, which we kept separately, wet ginger and cardamom crush, and one pinch of salt, and mix well. Only three-fourths of the coffee should be filled with this decoction, and then three-fourths of the tumbler should be filled with the boiled milk. Only one-fourth of the tumbler should contain.
Step 4: Add Cream, Sea Salt, and Vanilla
Remove from heat; whisk in 1/2 cup of heavy cream, 1/2 teaspoon of vanilla, and 1 1/2 teaspoons of sea salt. Taste and make sure the salt level is to your liking.
Step 5: Cool the Mixture
Leave the mixture to cool at room temperature, then transfer it to the refrigerator. Keep it in the refrigerator for at least 2-4 hours until very cold before churning.
Step 6: Churn the Ice Cream
Freeze into Ice Cream a pre-chilled ice cream mixture and start churning. Pour the mixture into an ice cream maker. Churn manufacturers. This normally takes between 20 and 30 minutes.
Step 7: Freeze and Serve
Freeze and Serve: After churning, pour the soft ice cream into a container and freeze for 2-3 hours until firm.
Sea Salt Ice Cream Serving:
Freeze at least for another two hours before serving. Your ice cream is now ready to be served.
Why Sea Salt is the Key Ingredient
Sea salt is what makes this ice cream truly special. Unlike table salt, sea salt has a more complex flavor, which balances beautifully with the sweetness of the ice cream base. It enhances the creamy richness without overpowering it. The salt content not only adds a gourmet twist but also deepens the overall taste, making it a refined and satisfying treat.
Add the Iconic Blue Color (Optional)
If you’ve seen the game, then chances are you’ve seen the blue Sea Salt Ice Cream. I would say that it is probably optional. Give it a couple of drops, and at least the food in your homemade version will look closer to the real thing if not you when you desire to go all-out in copying the image. That is, of course, after adding the salt and before chilling.
Tips for Perfecting Your Sea Salt Ice Cream Recipe
- Taste the Salt Level: Sea salt can vary in intensity, so start with less and add more to taste.
- Don’t Rush the Cooling Process: Let the mixture chill fully before churning.
- Experiment with Toppings: Sea Salt Ice Cream goes great with caramel sauce, dark chocolate shavings, or a sprinkle of sea salt flakes for an extra salty-sweet kick.
The History Behind Sea Salt Ice Cream
Sea salt can vary in strength, so taste first with less and then add more. Chilling should not be rushed: allow the mixture to chill completely before churning. Try some of the toppings: caramel sauce, dark chocolate shavings, or a light sprinkle of sea salt flakes for that extra kick with the Sea Salt Ice Cream. The Tale of Sea Salt Ice Cream
While some people would credit the spread of Sea Salt Ice Cream to television, the origins of the treat are a bit more traditional, stretching back through dishes prepared in sections of the shore where salt factors prominently in the flavors. The fusion of those two components represents a core duality in several culinary traditions across the globe, and this dessert is a fine embodiment of that.
Healthier Alternatives for Sea Salt Ice Cream:
For a healthier option, you may use low-fat milk or opt for a plant-based milk alternative, for example, almond or coconut milk. Just bear in mind that the texture may vary according to the fat content.
Recipe Tips
Hope you guys liked this post on making ice cream at home. And we are pretty sure that making ice cream is a pretty enjoyable activity for the family as a whole. We gladly shared the recipe with you. So, post all your queries in the comments section below. ‘Thank you for reading; we always become happy when one of our posts can help related to this kind of issue.
FAQs About Sea Salt Ice Cream
1. What makes sea salt ice cream different from regular ice cream?
Imagine sea salt ice cream as being classically creamy-sweet with a salty edge: the sea salt simply amplifies the flavor, achieving total balance. Quite unlike the usual ice creams, this one has a subtle salty ‘kick’ to it, which marries very well with the sweetness.
2. Can I use regular table salt instead of sea salt?
You can, but I don’t recommend it. Sea salt has a more subtle and multi-dimensional, unrefined flavor compared to table salt. If I were to use table salt in it, the ice cream would be too salty and harsh in taste, while sea salt gives a much softer and balanced taste.
3. What type of sea salt should I use for this recipe?
Fine sea salt is recommended for this recipe because it dissolves readily and distributes evenly throughout the ice cream. If you prefer a more subtle flavor or flaky texture, you may use flaky sea salt, but be sure to adjust the quantity, as it is less intense.
4. How salty should the sea salt ice cream be?
The level of saltiness should be moderate to provide a contrast to the sweetness. Start with what the recipe suggests (1 1/2 teaspoons sea salt) and then fine-tune to your preference. As a reminder, you may always add more salt if required, but there’s no going back once it’s in!
Recipe!

Sea Salt Ice Cream Recipe!
Equipment
- Mixing bowls
- cups
Ingredients
- 2 eggs
- 2 cups milk
- 1/3 cup sugar
- 1 teaspoon vanilla
- 1 cup heavy whipping cream
- sea salt be careful with this
- blue food coloring looks better with it (optional)
- green food coloring looks better with it (optional)
Instructions
- Make two separate bowls with the eggs.
- Make the egg whites stiff by beating them.
- Make a thick paste by mixing the egg yolks and sugar together.
- Stir occasionally while slowly bringing the milk to a boil over medium heat. Add the hot milk to the yolk and sugar mixture and stir well.
- Make a custard by pouring the milk/yolk/sugar mixture back into the pot and heating on medium heat until thicker (WARNING: DO NOT LET IT BOIL).
- Add the custard to the beaten egg whites and mix well. To make it salty-sweet, add sea salt (don’t add too much salt).
- To cool the mixture, place it in the fridge. Add vanilla and cream once the mixture has cooled.
- Blue and green coloring can be added (optional).
- Follow the instructions on the ice cream maker when freezing.
- Put the mixture into one or two metal cake pans and freeze if you do not have an ice cream maker. Remove from the refrigerator and mix once the edges have become firm. You need to repeat this process until the ice is uniform.